Stylized white text spelling 'EAT2GIVE' on a black background.

Account Creation

Step One

  1. Go to this link to create an account, or scan the QR code below

  2. Click on “Create one” to create an account

  3. Enter your email and desired password and click “Create”

A barcode or QR code
Login screen for CheckD Data Wallet with options to log in, reset password, create an account, and learn more.
Screenshot of CheckD Data Wallet registration page with email and password fields, green Create button, and social media icons at the bottom.

Step Two

Enter the verification code that was sent to your email to complete your account creation.

A webpage about personal data accounts issued by Dataswyft, explaining their purpose and regulatory information, with sections for verification code input, and buttons labeled 'Decline' and 'Accept'.

Step Three

  1. Tap on “Authenticate”

  2. Tap on “done”

Eat2Give supporter login screen with logo of a house and heart, supporting restaurant orders, with options to authenticate or go back.
Digital certificate displaying the Eat2Give logo with a heart and hand, from Dataswyft Sdn Bhd, indicating supporter status, dated February 23, 2025, with a green check mark and a 'Done' button.
Digital badge titled 'Eat2Give Supporter' with a red heart and blue text logo, and a green 'ACTIVE' status label.

Step Four

  1. Tap on the Eat2Give Supporter badge icon

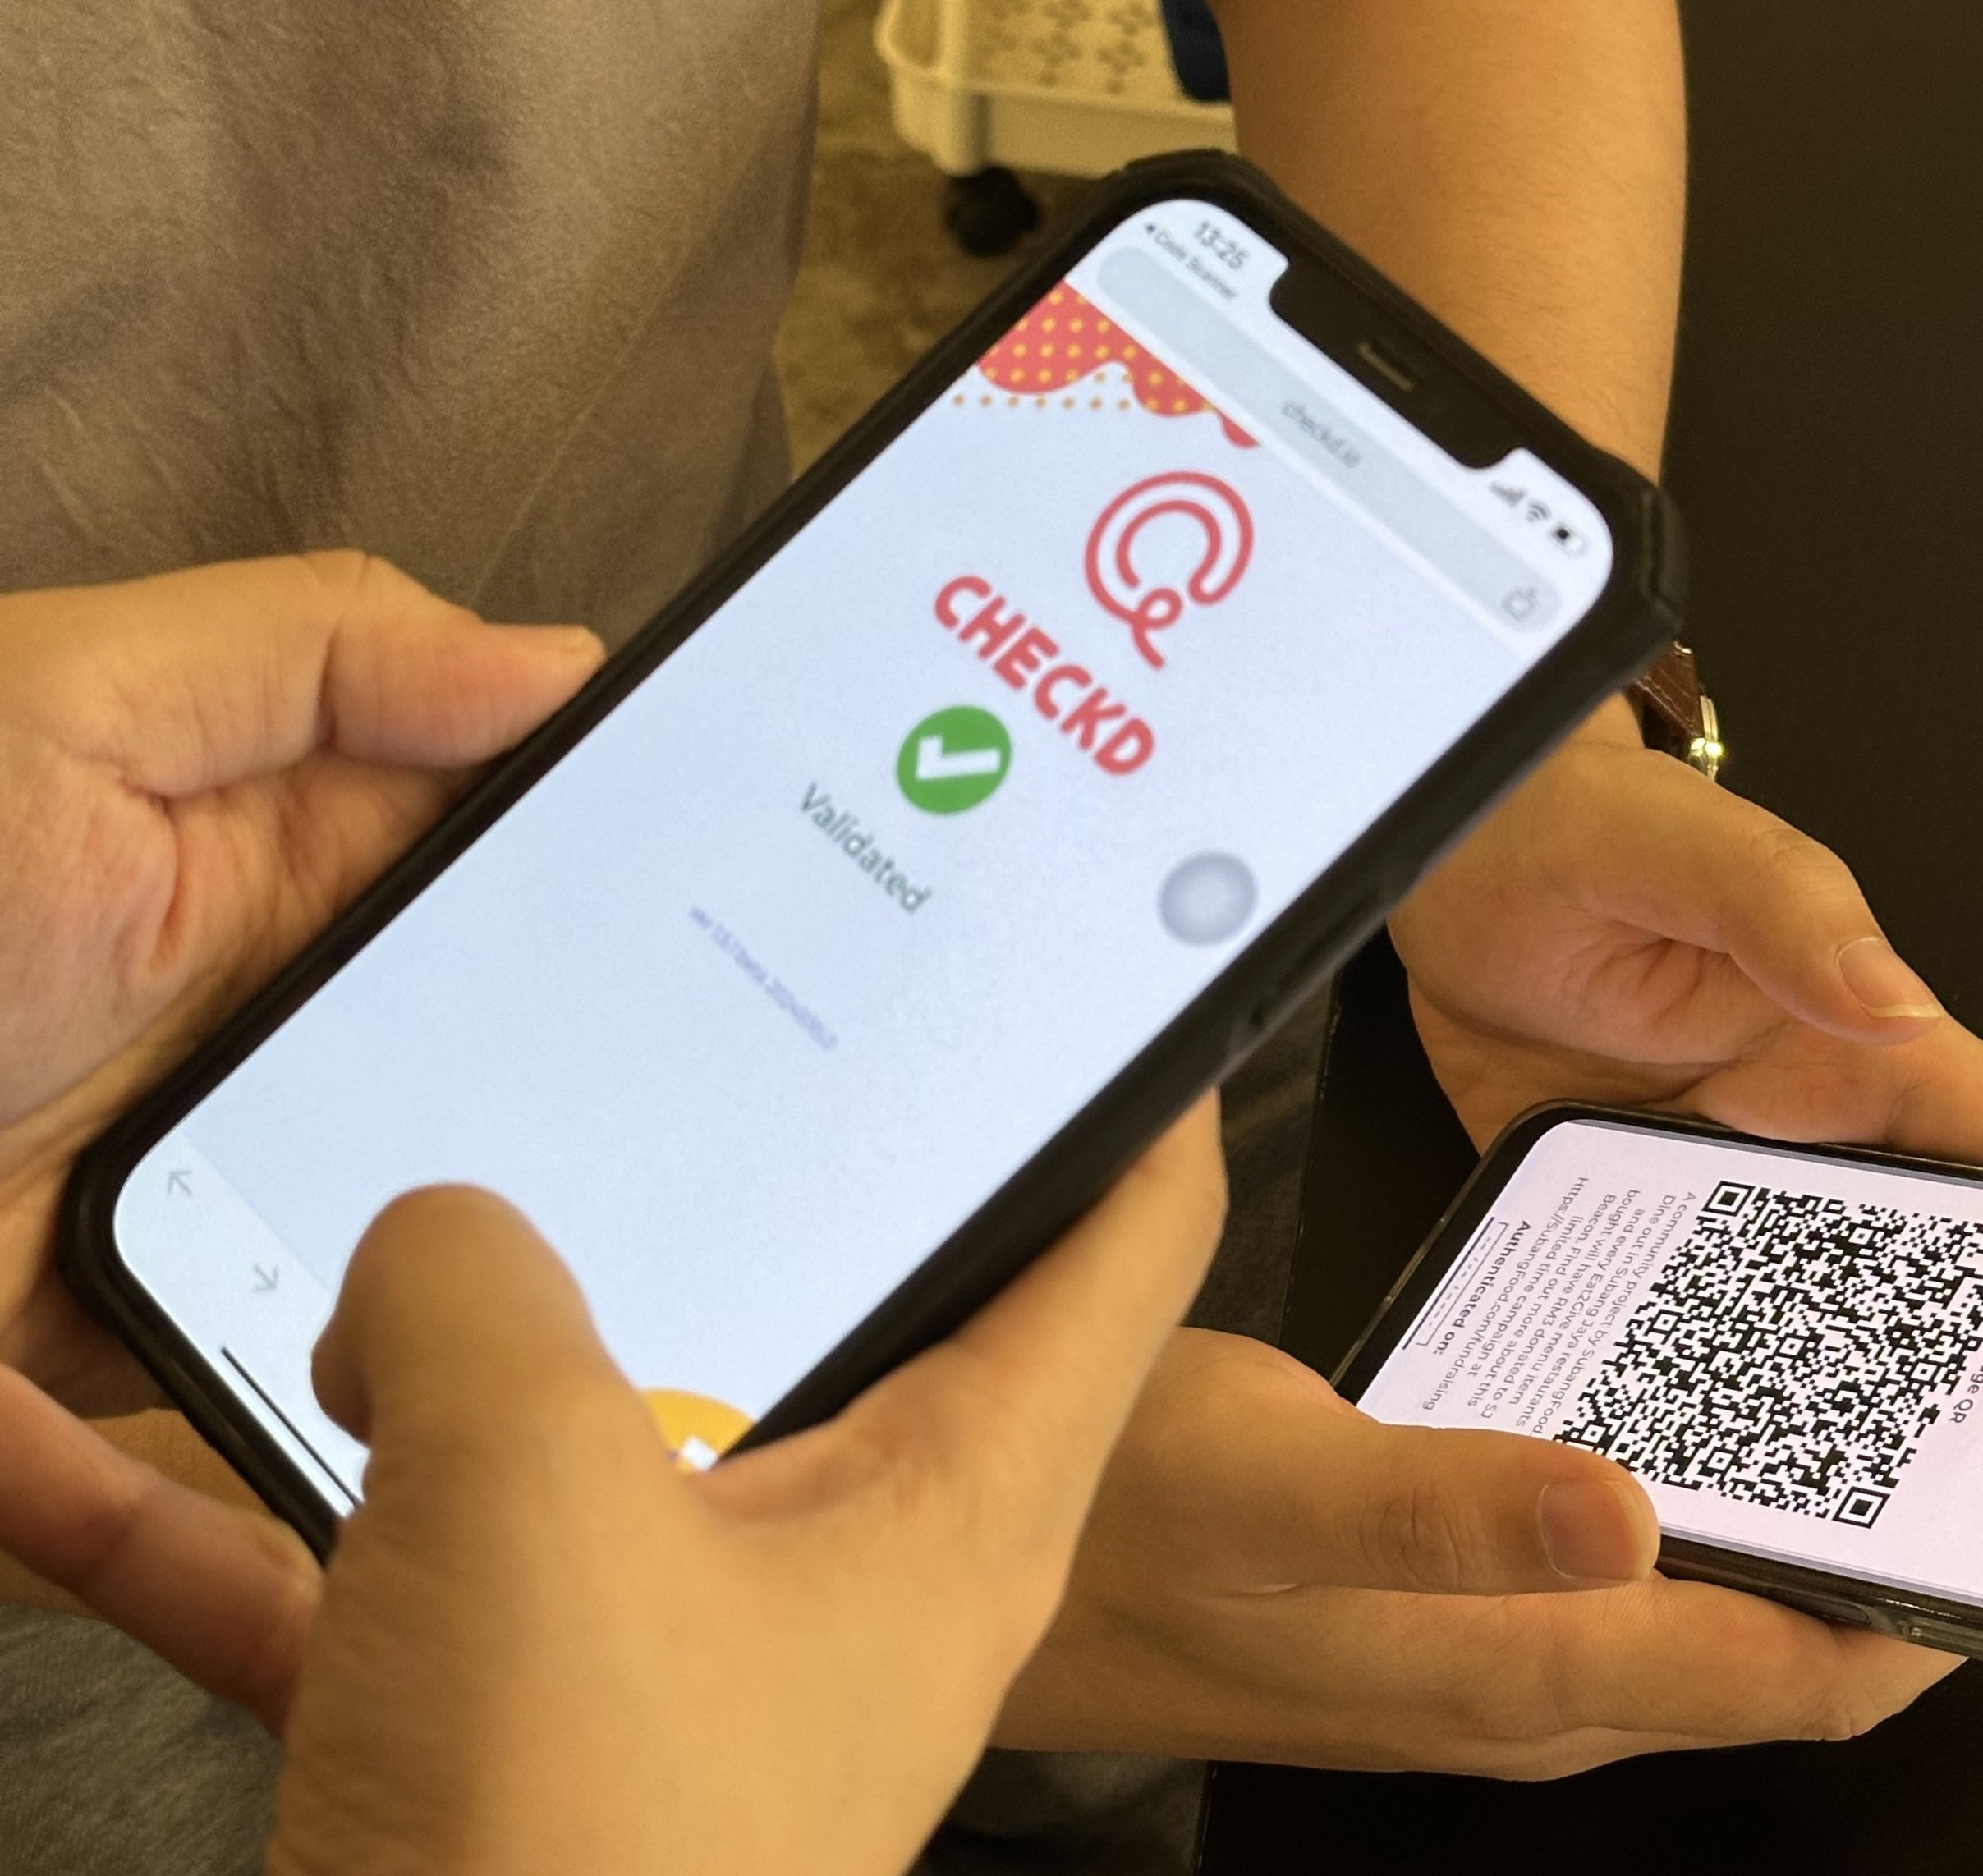
  2. Tap to show your QR code

  3. Show your QR code to the cashier

  4. Thank you!

Eat2Give supporter badge with logo, text, and date of authentication.
Two people holding smartphones, one displaying a QR code and the other showing a checkmark with the word 'Validated'.